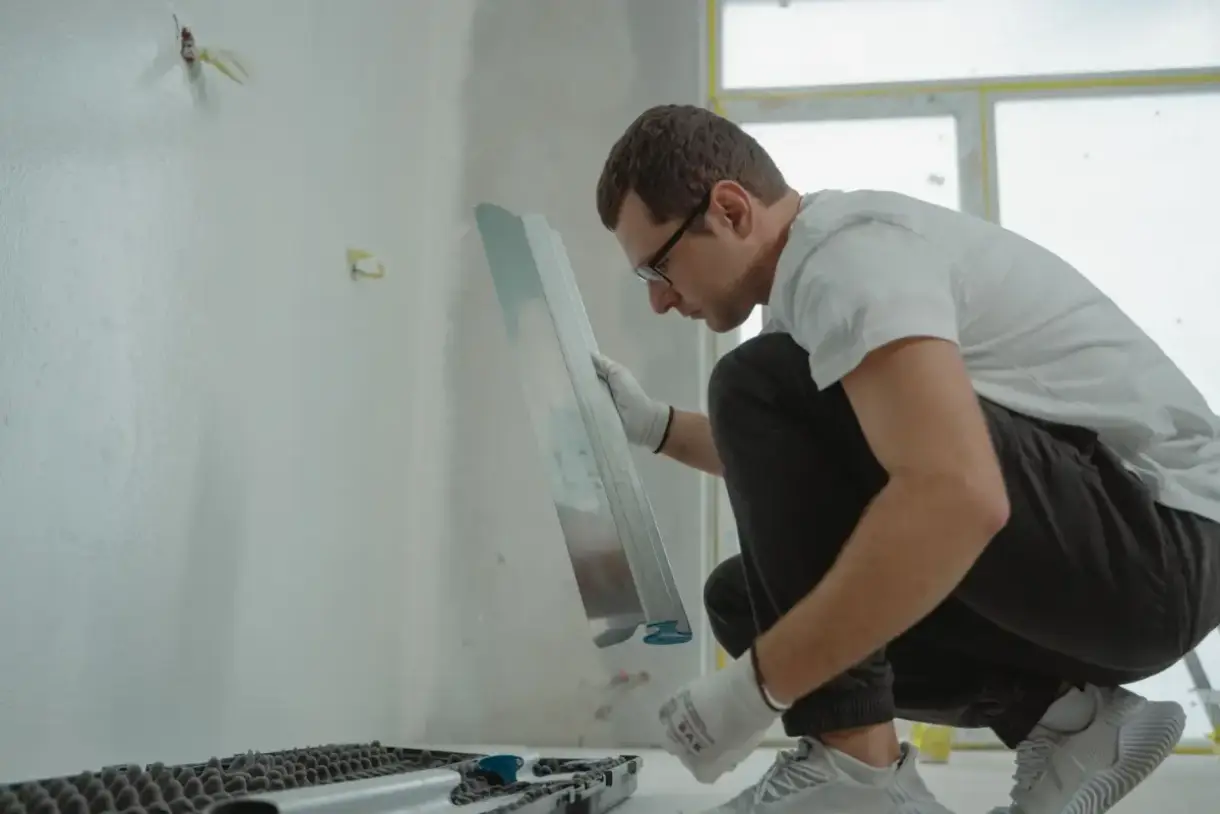
Drywall Taping & Mudding in Green Bay, WI — Joint Taping, Corners and Compound Work
Tape embedded in wet compound, corner bead set true, and coats built and feathered across Green Bay and Brown County, with compound chosen for the conditions it has to cure in.
Drywall Taping & Mudding in Green Bay, WI
Green Bay Elite Drywall is your local resource for drywall taping and mudding throughout Green Bay and Brown County. We work with experienced drywall professionals who select tape and compound for the joint and the conditions rather than for what is open on the truck.
Taping and mudding is the trade skill inside drywall work. Hanging board is measurable — a sheet is up or it is not. Taping is a continuous series of judgment calls: which tape at which joint, which compound at which stage, how wide to run the knife, whether a coat is dry enough to touch. Those decisions are invisible in a finished wall and they are why one wall stays flat for twenty years and another shows a seam after a single winter.
Two systems are in play. The tape system holds the joint: paper tape bedded into wet compound, or self-adhesive fiberglass mesh set dry and coated over. The compound system builds and levels: all-purpose for bedding, lightweight for coats that get sanded, topping for the last pass, and setting-type — hot mud — which cures through a chemical reaction rather than by drying out.
That last category matters more here than in most markets. Compound needs to be above roughly 50 degrees to behave properly, and drying compound in a cold or barely heated building simply stops. Setting-type compound cures on a timed schedule regardless of whether the air is doing the work, which makes it the difference between a job that progresses through a Northeast Wisconsin winter and one that sits. It comes in working times from about twenty minutes to several hours, and choosing the right one for the coat, the conditions and the crew is a real skill rather than a preference.
What’s Included in a Green Bay Drywall Taping & Mudding Quote
- Tape type selected by joint — paper where the joint moves, mesh where it suits
- Paper tape bedded into a wet coat rather than laid onto a dry surface
- Corner bead selected and set true, checked with a straightedge before coating
- Inside corners taped square without building a rounded fillet
- Compound selected by stage and by the temperature it has to cure in
- Setting-type compound used where conditions or the schedule require it
- Coats built in sequence, each feathered wider than the last
- Final sanding to a uniform surface with tool marks and ridges removed
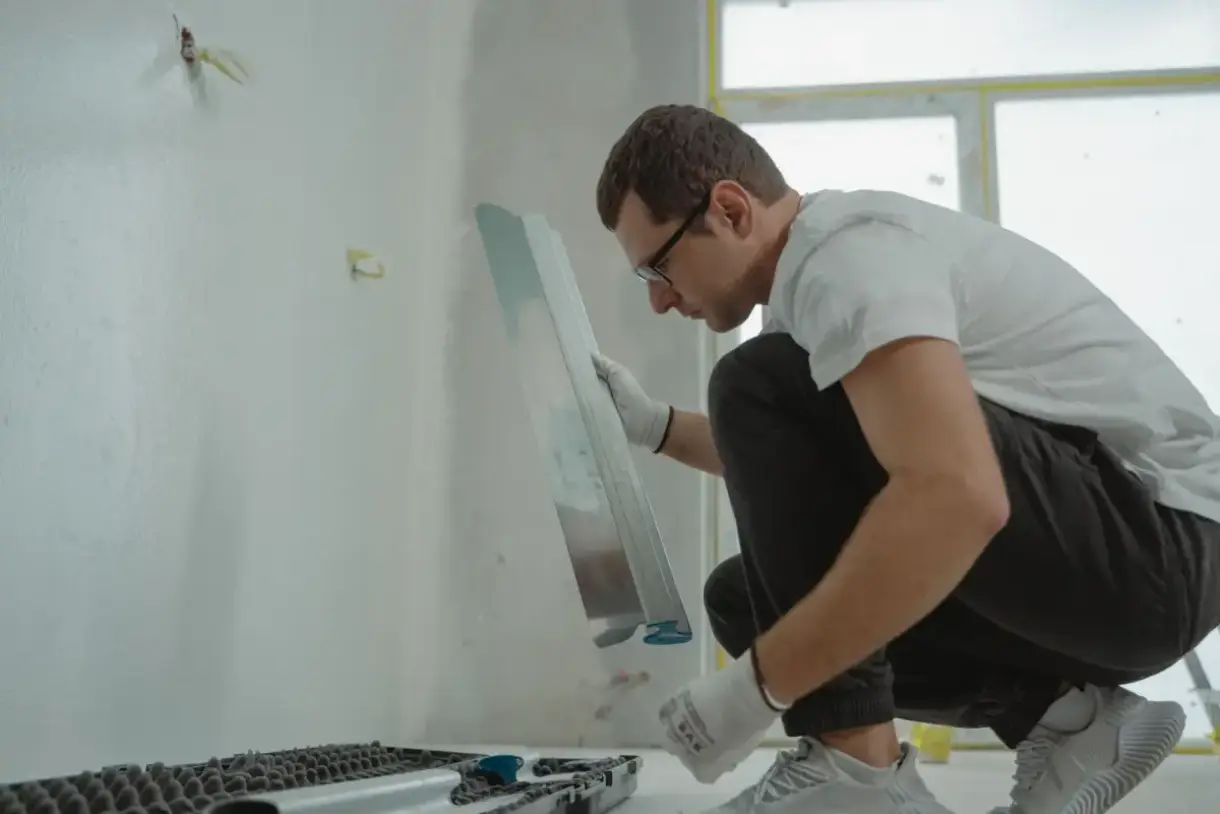
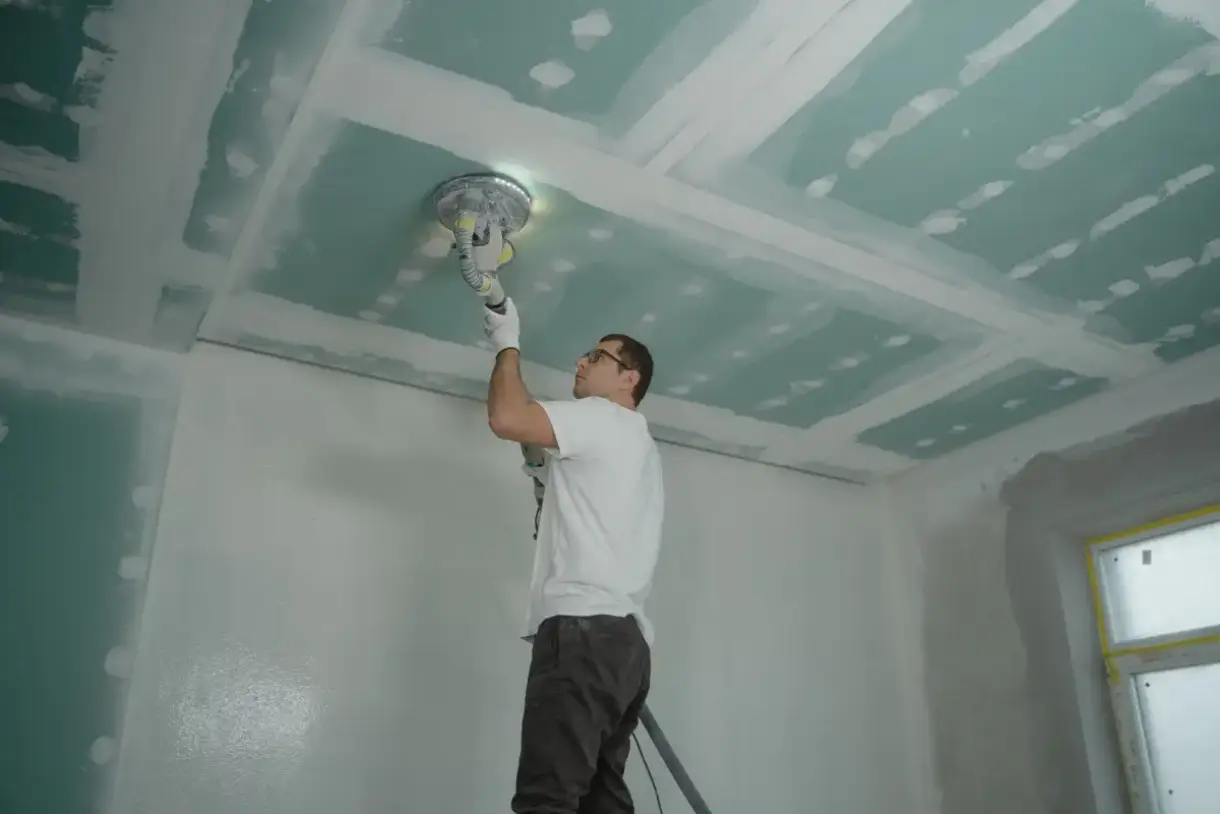
Drywall Taping & Mudding in Green Bay, WI
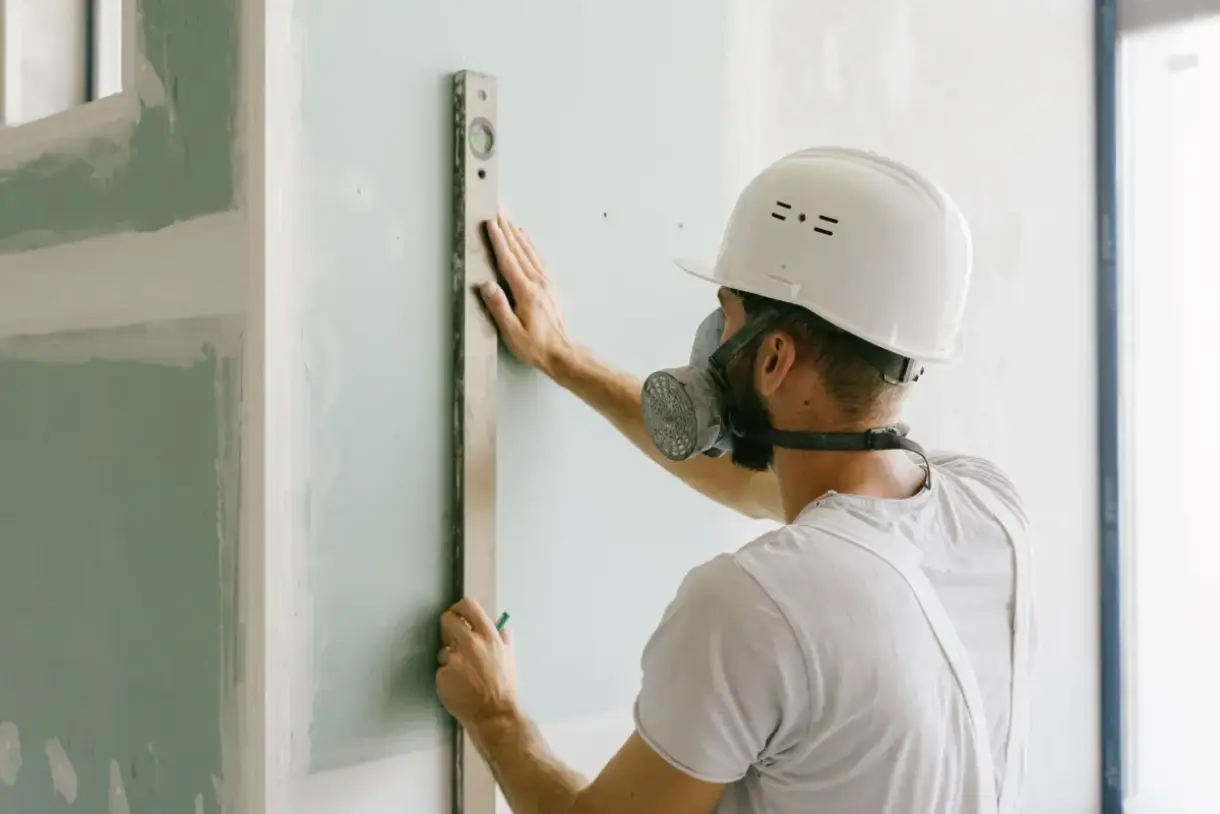
Drywall Joint Taping
The first and most important coat. Paper tape is bedded into wet compound so the compound squeezes through and behind it, locking the tape into the joint rather than covering it — a bond that resists movement. That matters in a climate where the building itself moves seasonally: framing shrinks through a long dry heating season and swells back in summer, and paper tape properly bedded handles that cycle far better than mesh. Mesh is faster and more forgiving to apply and has a genuine place on patches, but it depends entirely on the compound over it for strength.
Drywall Mudding & Joint Compound Application
Compound is not one product. All-purpose has good adhesion and is the standard bedding choice. Lightweight sands easily and belongs on coats that will be seen. Topping is softer still and is a finish-coat material. Setting-type cures chemically on a timed schedule, shrinks less, and can be recoated before it has dried — which is the tool that keeps work moving when the building is cold or the schedule has no slack. Its drawback is that it sands hard, so it belongs under the final coat rather than as it.
Inside & Outside Corner Finishing
Corners are where taping gets judged, because a corner has a hard line and any deviation reads immediately. Inside corners take paper creased down the middle and bedded both sides, aiming for a crisp square angle rather than the soft rounded fillet that comes from too much compound worked too heavily. Outside corners take a bead — metal for durability, vinyl where moisture is a factor, paper-faced for a very fine edge. The bead gets checked with a straightedge before anything covers it, because a bead an eighth of an inch out of line is out of line permanently.
Feathering & Multi-Coat Buildup
A joint is filled by building compound in progressively wider passes rather than loading it in one go. Bedding might run six inches wide, the fill coat ten, the finish coat fourteen or more, each edge feathered so it fades into the plane instead of stopping at a line. Feathering width determines whether a seam disappears — the same compound spread narrow leaves a low ridge that raking light finds instantly. In a market where winter sun runs along walls for months, that low-angle test happens whether or not anyone planned for it.
Final Sanding & Surface Preparation
Sanding levels the buildup without cutting into the paper face, which is the balance the whole stage turns on. Over-sanding exposes tape edges and fuzzes the paper either side, and that damage shows through paint as a rough band. Under-sanding leaves tool marks and ridges. Setting-type compound sands considerably harder than drying compound, which is one more reason it belongs beneath the finish coat rather than as it. Then dust gets genuinely removed, since compound dust on a surface prevents primer from bonding properly.
Signs You Need Drywall Taping & Mudding
- New board hung and ready for taping
- Seams showing through paint as visible lines or ridges
- Inside corners that read rounded rather than square
- Corner beads that are visibly out of line or crushed
- Tape edges lifting or bubbling along a joint
- A winter project where drying compound will not cure on its own
How Drywall Taping & Mudding Works
- 1
Assess the Joints and the Conditions Together
Before compound goes anywhere, two things get checked. The joints: fasteners set below the paper without tearing it, board edges trimmed where they are crushed or torn, and butt joints identified because they have no taper to hide the buildup. And the conditions: what temperature the building will hold through the finishing phase, and whether that will support drying compound or call for setting-type. Those two assessments together determine the whole sequence, and doing the second one honestly is what separates a schedule that holds from one that quietly slips two weeks.
- 2
Bed the Tape and Set the Beads
A bed coat goes on wet and the tape is pressed into it, worked down with a knife so compound squeezes through and behind the paper without starving the joint or leaving air under the tape. Air under tape becomes a bubble, and a bubble becomes a crack. Inside corners are creased and bedded both sides, kept square. Outside corners take their bead, fastened and checked along its length with a straightedge — the last moment a crooked bead can be fixed cheaply. In cold conditions this coat goes in as setting-type so the next one is not waiting on evaporation that is not happening.
- 3
Build the Fill and Finish Coats
Fill coats go over the bedded tape with a wider knife, then finish coats wider still, each feathered so its edge disappears into the plane. Compound is matched to the stage — body and adhesion underneath, sandability on top. Each coat cures or dries through before the next. Setting-type compound legitimately compresses the early stages of this and does not replace proper drying on the final coats, because those are the ones that get sanded and seen. Stacking coats on compound that has not cured produces cracking that appears months later, long after anyone connects it to the schedule.
- 4
Sand, Rake a Light Across It, and Clean
Sanding takes the buildup down to a uniform plane without cutting the paper face. Joints are then checked by touch and by raking a light along the surface at a low angle, which finds ridges that looking straight at a wall never will — and which simulates exactly what a January afternoon will do to a south-facing room. Inside corners are done by hand. Then dust is genuinely removed rather than swept from one surface onto another, because compound dust left on the wall interferes with primer adhesion.
What Does Drywall Taping & Mudding Cost in Green Bay, WI?
- Linear footage of joints rather than square footage of wall
- Number of inside and outside corners, which are far slower than flat runs
- Number of butt joints, which need a wider feather than tapered seams
- Finish level the coats have to add up to
- Ceiling work versus wall work
- Building temperature, which determines compound selection and schedule
- Whether temporary heat is required to make the work possible at all
| Service | Cost Per Sq. Ft. | Typical Job |
|---|---|---|
| New Drywall Installation | $1.50 – $3.00 per sq. ft. | $1,000 – $3,254 per project |
| Small Patch or Hole | $75 – $350 per patch | $300 – $500 for a contractor visit |
| Larger Wall Repair | $500 – $800+ per patch | Scales with how much board comes out |
| Ceiling Repair | $297 – $472 per hole | $220 – $1,300 for the full ceiling |
| Water-Damaged Drywall | $500 – $2,500+ | Depends how far the moisture travelled |
| Texture Matching | $150 – $450 per patch | Runs 30 – 40% above a smooth finish |
Based on 2026 national cost-guide data from Angi, HomeGuide, and Homewyse. Green Bay and Brown County rates land above or below these ranges depending on ceiling height, access, and texture type. Ice-dam ceiling damage is the row that most often exceeds the guide, because wet insulation above the board has to come out and dry before anything closes back up. You get a firm number after someone sees the job.
Taping is priced on joints and corners rather than wall area, which is why two rooms of identical square footage quote differently — the one cut up with closets, angles and openings has far more linear footage and many more corners. The seasonal factor here is real: winter work in a properly heated building is fast, because the indoor air is dry. Winter work in a building without permanent heat needs either temporary heat or a longer schedule, and a quote that ignores that is a quote that will not be met.
What to Look for in a Green Bay Drywall Taping Contractor
They Ask What Temperature the Building Will Hold
Compound below about 50 degrees does not behave. A taper who asks before scheduling is planning a job that will actually finish when they said.
They Bed Paper Tape Wet
Tape laid onto a dry surface has nothing locking it in. In a building that moves through a long heating season, that bond is what keeps the joint closed.
They Know When to Reach for Setting-Type
Hot mud is the tool that keeps winter work moving, and it is the wrong choice for the coat that gets sanded. Knowing the difference is the skill.
They Feather Wide
The width of the transition decides whether a seam disappears. With low winter sun running along walls for months, that test happens here whether or not anyone planned for it.
Residential & Commercial Drywall Taping & Mudding
Residential
Residential taping covers new board, additions, remodels and repairs, and the everyday judgment calls about tape, compound and corners that decide whether joints stay invisible. In this market it also means matching the compound system to what the building can actually support at the time of year the work happens.
Commercial
Commercial taping runs to written specifications across much larger continuous areas, where holding consistency across a wall finished over several days is the main difficulty. That work is covered on the commercial drywall finishing page.
When Drywall Taping & Mudding Isn’t the Right Call
- Projects where the required outcome is a finish level rather than a taping scope — that belongs on the drywall finishing page.
- Unheated buildings in winter where the schedule assumes normal drying. That is not a disagreement about pace, it is a material limitation.
- Walls where the framing is out of plane and the plan is to bury it in compound. That widens the shadow rather than removing it.
- Board hung with joints stacked or landing at door corners. That is a hanging problem and taping will not rescue it.
- Addresses outside the Green Bay metro area.
Frequently Asked Questions
- What temperature does joint compound need to cure properly?
- Manufacturers generally specify a minimum around 50 degrees Fahrenheit for both the material and the surface, maintained through application and drying. Below that, drying compound stalls — and if it freezes, it is ruined rather than merely slowed. Setting-type compound cures chemically and is more tolerant, but it is not immune, and its working time changes with temperature. In practice this means winter drywall finishing in this area needs the building heated, which is a project planning question rather than a drywall one.
- What is hot mud and when should it be used?
- Setting-type compound, which cures through a chemical reaction on a timed schedule rather than by drying out. It comes in working times from about twenty minutes to several hours, shrinks much less than drying compound, and can be recoated before it has fully dried. That makes it the right tool for deep fills, for bedding mesh tape, for cold conditions, and for schedules with no slack — all of which describe a lot of winter work here. Its drawback is that it sands hard, so it belongs under the final coat rather than as the final coat.
- Is paper tape or mesh tape better?
- They are different tools, and the local climate tips the balance. Paper tape bedded in wet compound is stronger and handles joint movement better, which matters where framing shrinks through a long dry heating season and swells back in summer. Mesh is self-adhesive, faster and more forgiving to apply, and it has a genuine place on patches and repairs. The caveat is that mesh relies entirely on the compound over it for strength and should be coated with setting-type rather than lightweight compound.
- How many coats should a joint get?
- It depends on the finish level being targeted. Level 3 is tape plus one coat over joints. Level 4 is tape plus two. Level 5 is tape plus two plus a skim across the whole surface. Fasteners and beads get an extra coat compared to joints at every level. Any quote describing work as taped and finished without naming a level is leaving the coat count open, and coat count is precisely where a low bid finds its savings.
- Why do my inside corners look rounded?
- Too much compound worked too hard. An inside corner should be a crisp square angle with tape bedded on both faces and compound kept thin. When compound is over-applied and then worked repeatedly to smooth it, it builds a soft fillet in the angle, and once that shape is there sanding cannot recover it without cutting into the tape. It is a technique issue rather than a materials one, and it is one of the clearest tells of inexperienced taping.
- Why do butt joints show more than regular seams?
- Because they have no recess to hide the buildup. Drywall panels have tapered long edges, so when two of them meet the compound sits in a shallow trough and finishes flush with the surface. Where two cut ends meet there is no taper, so the tape and compound sit proud of the plane and the only way to disguise it is a very wide feather — often two feet or more. That is why good hanging minimizes butt joints and places the unavoidable ones where the lighting is kindest.
Learn More
- Gypsum Association GA-216 — the application and finishing standard for gypsum panel products
- USG Construction Handbook — manufacturer documentation on compound types, working times and temperature requirements
- Association of the Wall and Ceiling Industry — trade association guidance on taping and joint treatment practice
Need Drywall Taping & Mudding in Green Bay, WI?
Tell us what’s going on and get an on-site estimate — no charge for the visit, and no obligation to book the work.
Get My Free Estimate