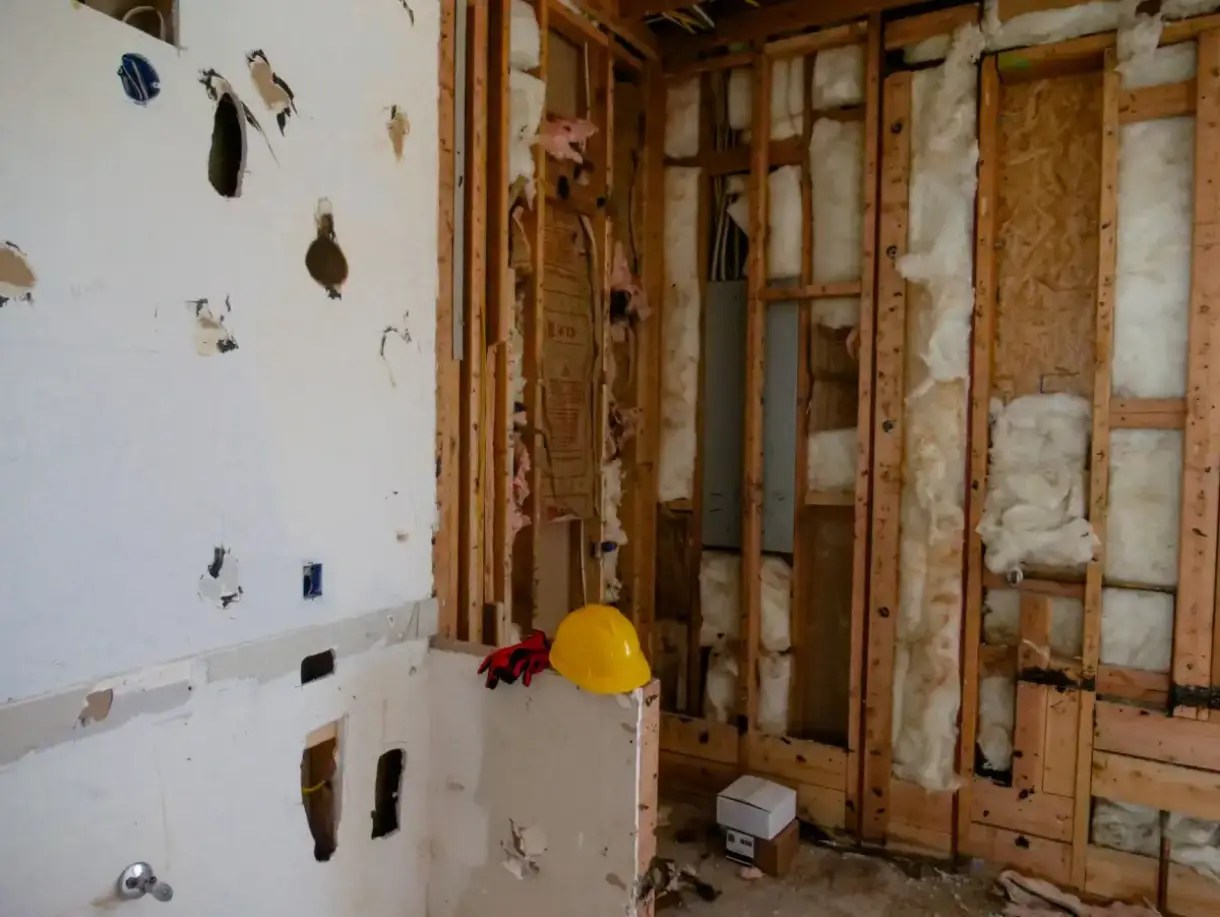
Drywall Replacement in Green Bay, WI — Wall and Ceiling Section Replacement
Board taken out and replaced across Green Bay and Brown County, with removal, disposal, a proper look at the cavity, and finishing back into the surfaces that stay.
Drywall Replacement in Green Bay, WI
Green Bay Elite Drywall is your local resource for drywall replacement throughout Green Bay and Brown County. We work with experienced drywall professionals who will tell you plainly when a wall has passed the point where another patch makes sense.
There is a point where repairing drywall stops being the economical choice, and most people reach it two or three repairs after it arrives. A surface patched repeatedly develops a subtly uneven plane — each patch feathered slightly differently, each absorbing paint a little differently — and under raking light it reads as a wall that has been worked on rather than a wall. With winter sun running along walls here for months, that reading happens more often than it would further south.
Replacement is also right when the board has failed rather than been damaged. Gypsum that has been saturated loses core strength permanently and does not recover when it dries, which matters in a market where the same upstairs ceiling can take ice dam water three winters running. A ceiling that has taken a set will not come back with refastening. Board that was the wrong thickness for its span was never going to hold.
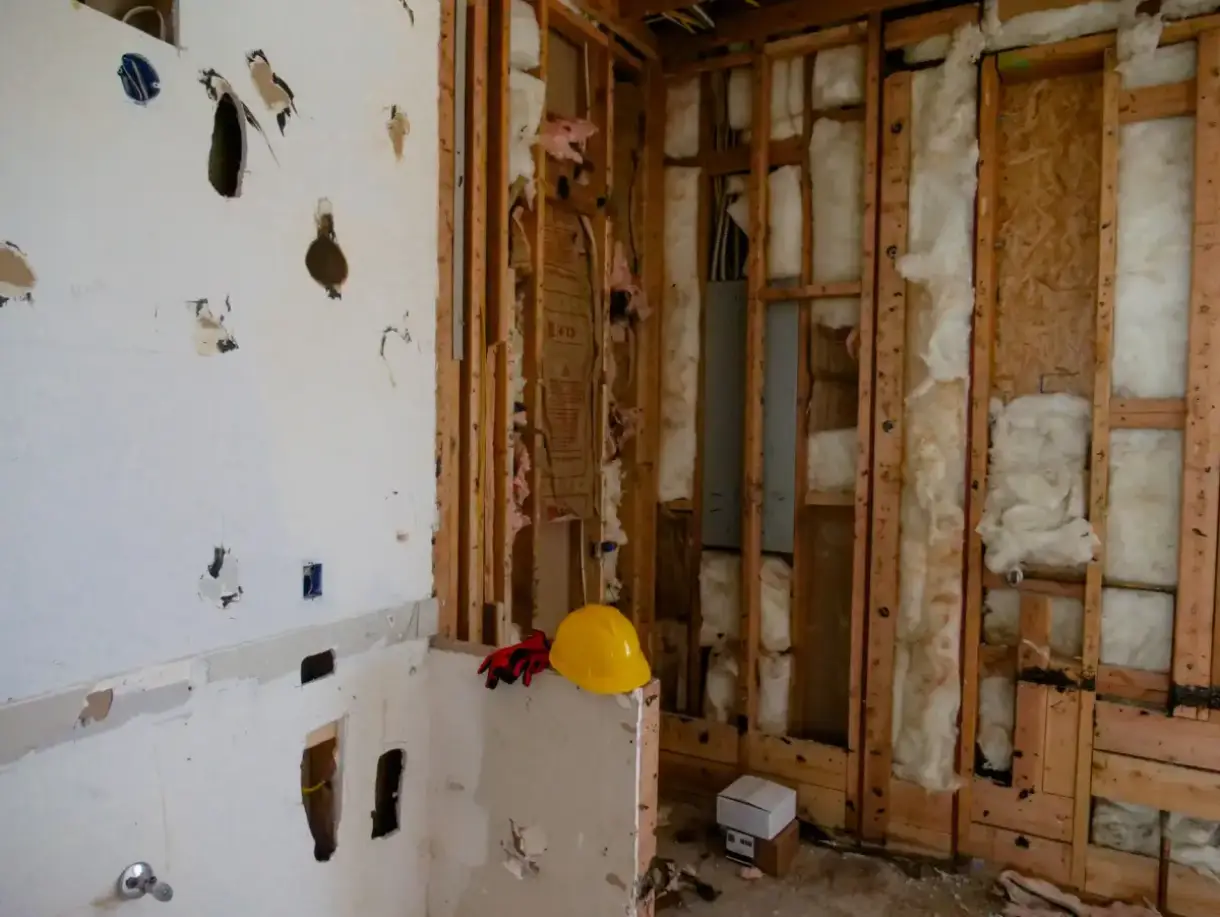
The reason to do replacement properly rather than quickly is what the open cavity offers. In a climate with our heating season, an accessible exterior wall or ceiling plane is the cheapest opportunity you will ever get to improve insulation and air sealing — and air leakage into an attic is the mechanism behind both ice dams and the attic frost that stains ceilings from above. Closing a cavity back up without addressing that is a decision that costs nothing today and cannot be revisited for years.
What’s Included in a Green Bay Drywall Replacement Quote
- Honest assessment of whether replacement or repair is the better economics
- Section boundaries set at framing members so new board has bearing
- Existing board removed and disposed of rather than left on site
- Cavity inspected — framing, insulation, air leakage paths and moisture history
- Insulation added or replaced while the cavity is open, where that makes sense
- Air sealing addressed at the ceiling plane where it is contributing to ice damming
- Blocking added for anything that will be mounted on the wall later
- New board hung, taped, finished and blended into the surrounding surface
Drywall Replacement Services in Green Bay, WI
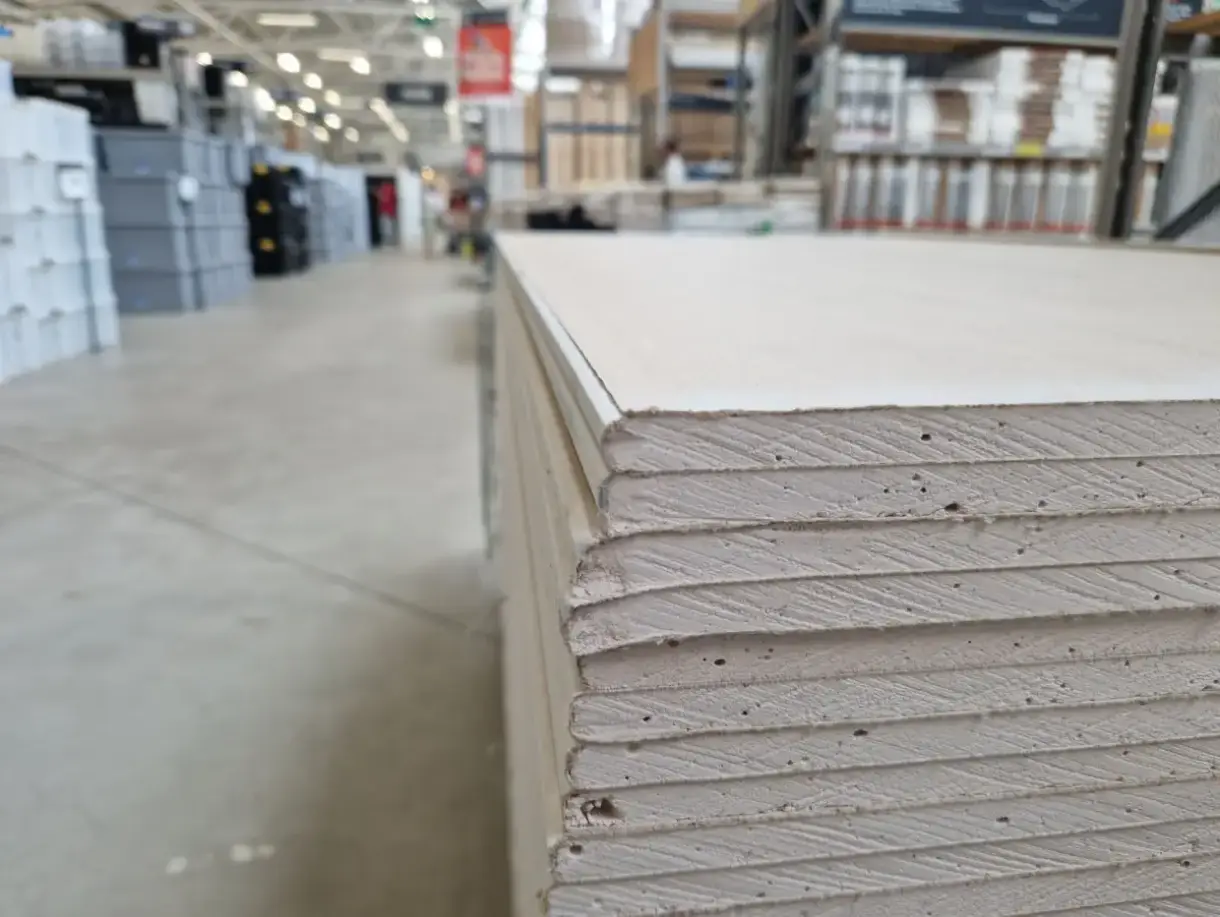
Damaged Drywall Replacement
Board that has failed rather than simply been marked. Locally the leading cause is repeated water: an upstairs ceiling that has taken ice dam melt more than once, a wall where a supply line froze and split, or a lower level that has seen spring seepage. The distinction that matters is between a panel damaged on its face and one whose gypsum core has lost integrity. Core damage is not repairable — compound over softened gypsum has nothing structural beneath it, and the repair fails from behind rather than at its edges.
Wall Drywall Replacement
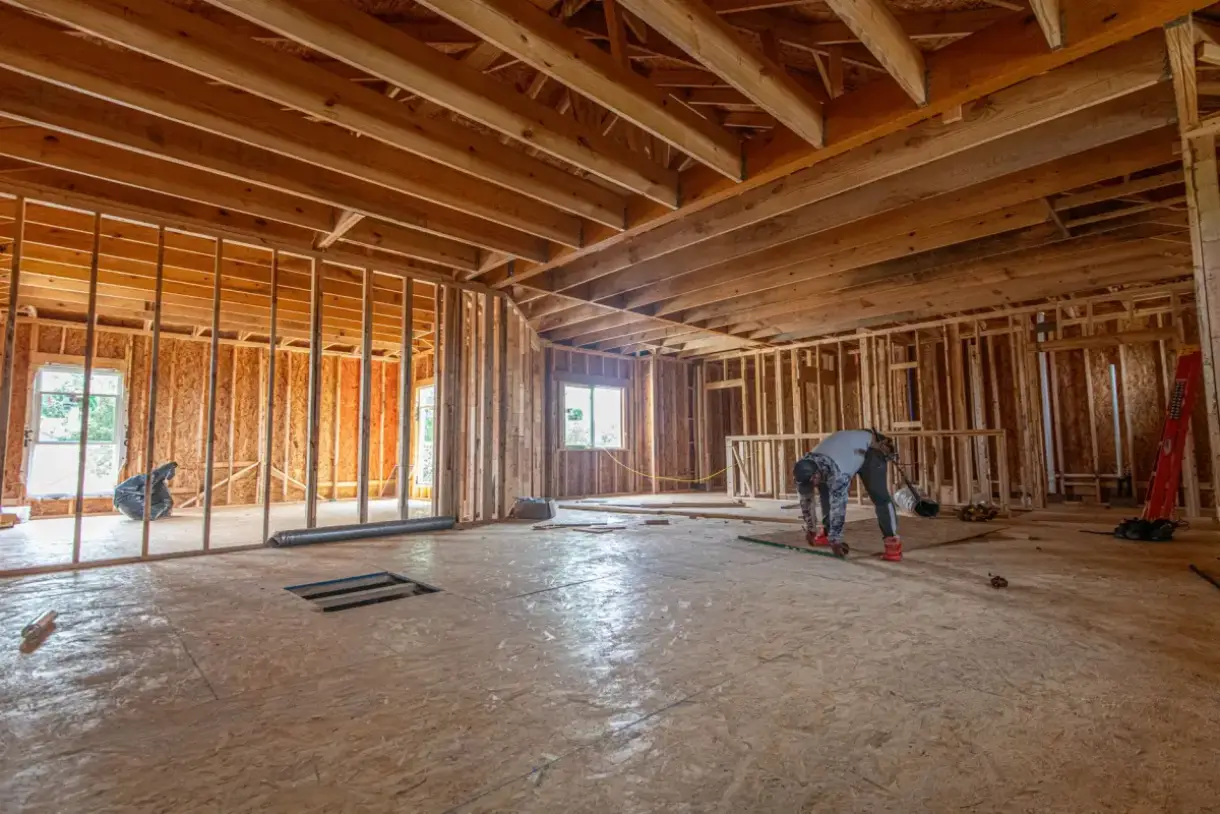
Taking out and reboarding a wall or a defined section of one. The judgment is where to stop, and the answer is at framing members rather than at the edge of the damage — a section cut to the centers of studs on either side gives the new board something to fasten to and puts the joint where it can be taped properly. On an exterior wall the decision is worth widening deliberately, because opening more of it is what makes an insulation and air sealing upgrade practical rather than piecemeal.
Ceiling Drywall Replacement
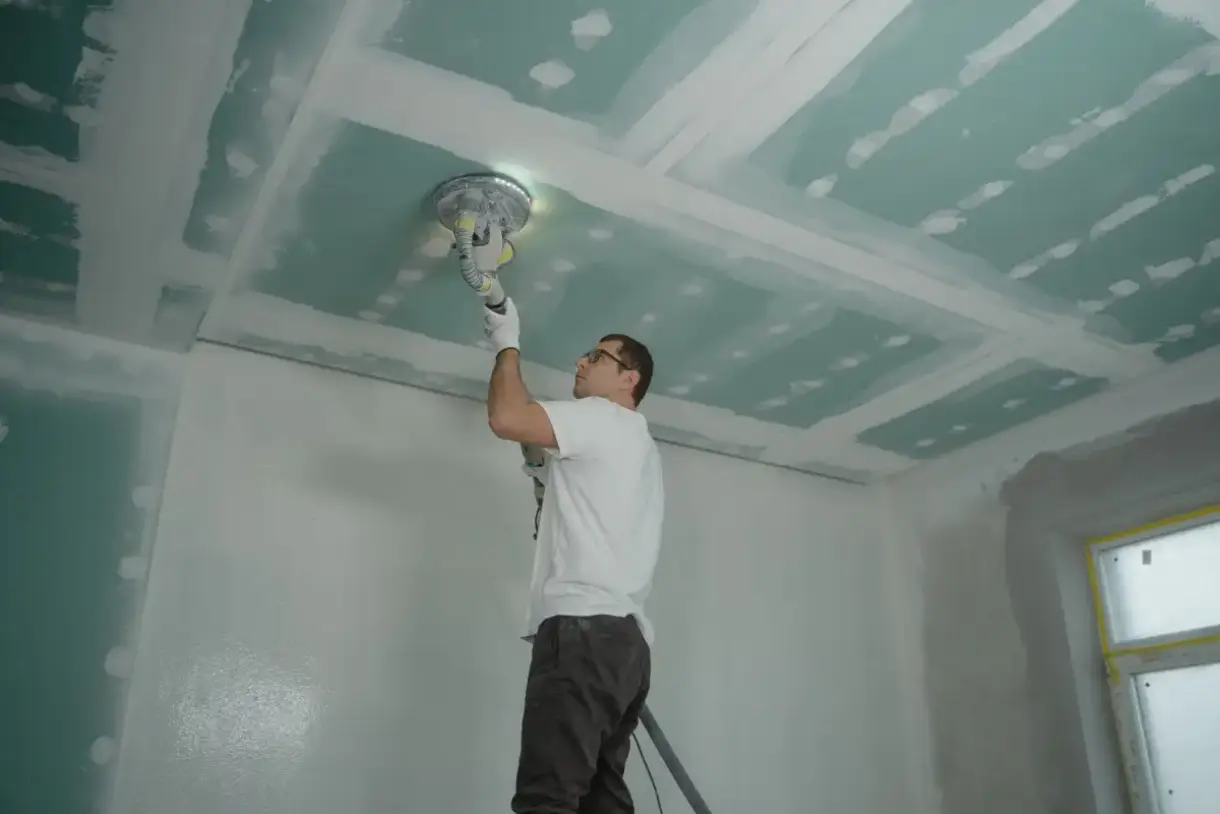
The more common replacement in this climate, and usually driven by water from above, accumulated insulation weight, or 1/2 inch board on framing at 24-inch centers that was never going to hold flat. Replacement is the chance to correct all three at once: 5/8 inch board where the spacing calls for it, insulation restored to full depth after being disturbed, and the air leakage paths into the attic sealed while the plane is open. That last one is the difference between fixing a ceiling and fixing why the ceiling failed.
Partial Drywall Replacement
Replacing a defined section rather than a whole surface, the most common version of this work and the one requiring most thought about boundaries. Cut to a framing member, keep the new joint away from door and window corners where movement concentrates, and stagger it against existing joints. Then the transition has to be finished so the section does not read as a rectangle — perimeter joints feathered wide and texture blended out past them rather than stopped at the patch line.
Drywall Removal & New Installation
The full sequence, including the parts a quote tends to gloss over. Removal generates significant debris and dust and has to be contained, carried out and disposed of. Then the cavity is open, and that is the moment that matters: framing condition, moisture history, insulation depth and coverage, and where conditioned air has been leaking into an unconditioned space. New board goes in with the type chosen for the location, and finishing follows. The open-cavity work is what makes replacement worth more than its square-foot price.
Signs You Need Drywall Replacement
- A ceiling that has taken ice dam water more than once
- A wall or ceiling patched three or more times in the same area
- Board that feels soft or crumbling after a water event
- A ceiling with a permanent sag that refastening will not correct
- A surface that reads visibly uneven under low winter sun
- An exterior wall coming apart anyway, in a house that could use better insulation
How Drywall Replacement Works
- 1
Decide Honestly Between Repair and Replacement
The first job is working out which service you actually need, and it is worth getting a straight answer rather than the more expensive one. Repair is right when the surrounding board is sound and the damage is localized. Replacement is right when the board has failed structurally, when a surface carries accumulated repairs that no longer sit flat, or when the assembly was wrong for its span. On ceilings a useful test is whether refastening would help: if the board has taken a permanent set, pulling on it drives fasteners through the face rather than lifting it, and that settles it.
- 2
Set the Boundaries and Protect the House
Section edges go at framing members so new board has bearing and the joint can be taped, kept away from door and window corners where stress concentrates. Then the space gets protected, because removal generates far more dust and debris than people anticipate — floors covered, adjacent rooms sealed at the doorways, and a route planned for carrying material out. In winter that route matters more, since doors cannot simply be propped open, and the containment has to work without the help of cross-ventilation.
- 3
Take It Down, and Use the Access
Board comes out and gets carried out rather than accumulating on site. Then the cavity gets examined properly: framing for moisture staining and softening, insulation for depth and coverage, and — on a ceiling plane — for the gaps around fixtures, hatches and penetrations where warm house air escapes into the attic. That air leakage is the engine behind ice dams and attic frost, and an open ceiling is the only cheap chance to address it. Blocking goes in for whatever will be mounted later while the framing is exposed.
- 4
Reboard, Finish and Blend the Perimeter
New panel goes in with the type chosen for the location — moisture-resistant below grade or in a bathroom, Type X where a rated assembly is involved, and the correct thickness for the framing span on ceilings. Joints stagger against existing board and stay off opening corners. Finishing runs as normal, with the perimeter joints between new and existing board feathered wide so the replaced section does not read as a rectangle. Texture is sampled from the surrounding surface and blended out past the boundary, and the area is primed before paint.
What Does Drywall Replacement Cost in Green Bay, WI?
- Area being replaced and whether it is wall, ceiling or both
- Removal and disposal, which is real labor and a real haul-away cost
- Whether insulation is being restored or upgraded while the cavity is open
- Whether air sealing work at the ceiling plane is included
- Panel type and thickness required for the location and span
- Texture matching difficulty around the perimeter of the new section
- Fixture, trim and cabinetry removal and reinstallation
- Containment and protection in an occupied house, particularly in winter
| Service | Cost Per Sq. Ft. | Typical Job |
|---|---|---|
| New Drywall Installation | $1.50 – $3.00 per sq. ft. | $1,000 – $3,254 per project |
| Small Patch or Hole | $75 – $350 per patch | $300 – $500 for a contractor visit |
| Larger Wall Repair | $500 – $800+ per patch | Scales with how much board comes out |
| Ceiling Repair | $297 – $472 per hole | $220 – $1,300 for the full ceiling |
| Water-Damaged Drywall | $500 – $2,500+ | Depends how far the moisture travelled |
| Texture Matching | $150 – $450 per patch | Runs 30 – 40% above a smooth finish |
Based on 2026 national cost-guide data from Angi, HomeGuide, and Homewyse. Green Bay and Brown County rates land above or below these ranges depending on ceiling height, access, and texture type. Ice-dam ceiling damage is the row that most often exceeds the guide, because wet insulation above the board has to come out and dry before anything closes back up. You get a firm number after someone sees the job.
Replacement carries costs repair does not — demolition labor, debris haul-away, and whatever the open cavity turns out to need. Against that, it ends a cycle, and the right comparison is not against one more patch but against the three or four that would otherwise follow. In this climate there is a second argument: the insulation and air sealing work that is straightforward with a cavity open is expensive as a standalone project, and skipping it means paying full price for it later or living with the ice dams it would have prevented.
What to Look for in a Green Bay Drywall Replacement Contractor
They Will Talk You Out of It When Repair Is Right
Replacement is the bigger job and the bigger invoice. A contractor who tells you a patch would do is giving you information worth more than the quote.
They Use the Open Cavity
An accessible ceiling plane is the cheapest chance you will get to seal the air leaks that cause ice dams. Closing it without looking wastes the best part of the job.
They Correct the Original Mistake
Putting 1/2 inch board back on 24-inch ceiling framing reinstalls the sag. Going to 5/8 inch is the reason to replace rather than repair.
They Include Disposal
Demolition debris is heavy and voluminous. A quote that does not cover haul-away is a quote with a pile in your driveway attached.
Residential & Commercial Drywall Replacement
Residential
Residential replacement here is most often driven by repeated water from above, accumulated seasonal repairs, or a ceiling assembly that was under-built from the start. All three are chances to fix the cause rather than the symptom while the cavity is open.
Commercial
Commercial replacement adds rated assemblies that have to be reinstated to their listed detail, occupied-space scheduling and containment standards. That work is covered on the commercial drywall repair page.
When Drywall Replacement Isn’t the Right Call
- Localized damage in otherwise sound board. That is a repair, and replacement mobilization is not worth paying for one hole.
- Ceilings under an unresolved ice dam. The attic work comes first or the new board takes the same water next winter.
- Plaster over wood lath, which is a different material with a different decision set — see plaster repair.
- Ceilings where the framing spacing calls for 5/8 inch board but the budget only allows 1/2 inch. That reinstalls the problem you are paying to remove.
- Addresses outside the Green Bay metro area.
Frequently Asked Questions
- Should I do insulation or air sealing work while the ceiling is open?
- In this climate it is usually the best-value decision available during a replacement. Ice dams form because heat escaping into the attic melts snow on the roof, which refreezes at the cold eave. That heat escapes through gaps around light fixtures, attic hatches, plumbing penetrations and top plates — all of which are accessible from below only when the ceiling is open. Sealing them is inexpensive at that moment and awkward at any other. If you are replacing a ceiling that failed because of ice damming, doing this is how you stop replacing it.
- When is replacement better than another repair?
- Three situations make it clear. When the board has failed structurally — saturated gypsum, a ceiling with a permanent set — because compound over compromised board has nothing to hold. When a surface carries several accumulated patches and no longer reads flat under angled light, since each patch makes that worse. And when the original assembly was wrong, most commonly ceiling board too thin for its framing span. A rough rule: by the third repair in the same area, run the numbers on replacing the section.
- My ceiling has taken ice dam water twice. Can it be saved?
- It depends on whether the gypsum core is still sound. Board that was wetted briefly and dried quickly can often stay. Board that has been saturated more than once, particularly overhead where gravity is working against it, has usually lost core strength and will not hold fasteners reliably even though it looks acceptable. The more important question is the attic, because a ceiling that has taken the same water twice will take it a third time unless the insulation and ventilation are addressed — and that work comes before any new board.
- Do you replace the whole wall or just the damaged part?
- Usually just a section, cut back to framing members so the new board can be fastened properly and the joint taped. Replacing an entire wall is worth it when damage is spread across most of it, or when there is a second reason to open it — improving insulation in an exterior wall being the common one here. What matters more than the size of the section is where its edges land: at framing, staggered against existing joints, and away from opening corners.
- Will the replaced section be visible afterward?
- It should not be, and whether it is comes down to two things. The perimeter joints between new and existing board have to be feathered wide, because a section finished with narrow joints reads as a rectangle under raking light — and low winter sun here provides that test for months. And the texture has to be sampled from the surrounding surface, tested on scrap, and blended out past the boundary rather than stopped at it.
- How long does a replacement take?
- Removal and reboarding move quickly — a single wall section is often a day. The schedule is set by the finishing that follows, because each compound coat has to dry through before the next and that depends on temperature and humidity rather than labor. A room typically runs four to seven days end to end. In a heated house in winter the drying is fast; in an unheated or partially heated space it stops, which is a planning question rather than a pace one.
Learn More
- Focus on Energy — Wisconsin energy efficiency program covering attic air sealing and insulation
- Gypsum Association — technical guidance on gypsum panel selection, spans and installation
- National Weather Service Green Bay — local snowfall and temperature records relevant to ice dam risk
Need Drywall Replacement in Green Bay, WI?
Tell us what’s going on and get an on-site estimate — no charge for the visit, and no obligation to book the work.
Get My Free Estimate