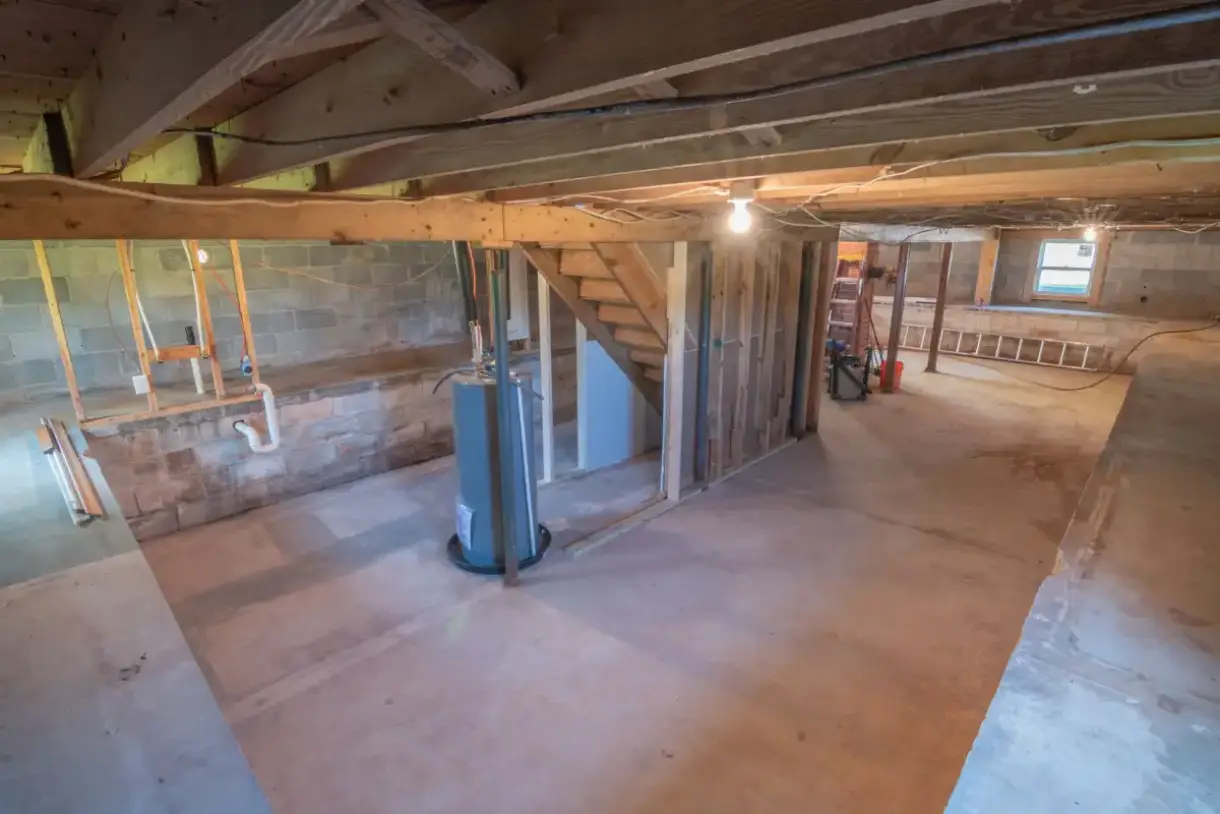
Basement Drywall in Green Bay, WI — Below-Grade Walls, Ceilings and Finishing
Lower levels boarded and finished across Green Bay and Brown County, with the below-grade assembly decided first — starting at the rim joist, where most of the heat actually leaves.
Basement Drywall in Green Bay, WI
Green Bay Elite Drywall is your local resource for basement drywall throughout Green Bay and Brown County. We work with experienced drywall professionals who settle the moisture and insulation questions before any board is lifted.
Basement drywall looks like ordinary drywall work and follows different rules. Above grade, a wall assembly handles moisture moving outward during a heating season. Below grade, the foundation sits in permanent contact with damp soil and moisture moves inward, year round. Building a basement wall the way an upstairs wall is built puts absorbent organic material against a surface that is always giving up water vapor, and the consequences arrive quietly.
The assembly that works below grade is well established: rigid foam directly against the foundation with seams sealed, framing held off the wall in front of the foam, unfaced cavity insulation, and no interior polyethylene — because a poly sheet on the warm side traps inward-moving moisture inside the assembly rather than letting it dry.
In Green Bay one part of that assembly does more work than the rest, and it is the part most often skipped: the rim joist. That is the band of framing sitting on top of the foundation at the ceiling of the basement, and in a climate with our heating season it is typically the single largest source of heat loss and air leakage in the whole house. It is also where warm interior air meets a cold surface, which makes it a condensation risk in its own right. Any basement finishing project that boards over an uninsulated, unsealed rim joist has covered up the most valuable thing it could have fixed.
What’s Included in a Green Bay Basement Drywall Quote
- Existing moisture conditions assessed before any assembly decisions are made
- Rim joist insulated and air sealed before framing covers it
- Rigid foam specified against the foundation and sealed at the seams
- Framing held off the foundation rather than fastened tight to it
- Unfaced cavity insulation with no interior poly vapor barrier
- Moisture-resistant board specified for below-grade walls and ceilings
- Board held off the slab so a floor water event does not wick into it
- Sump, floor drain and mechanical access preserved rather than boarded over
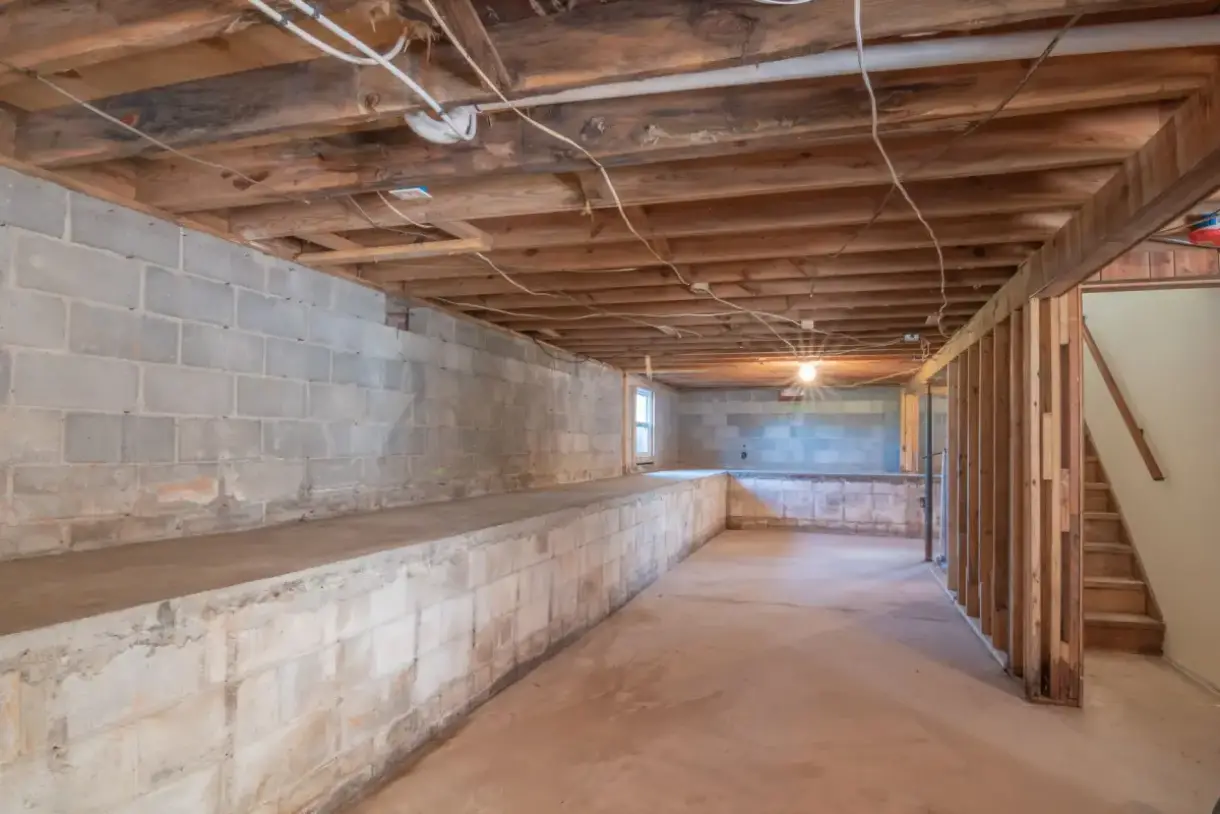
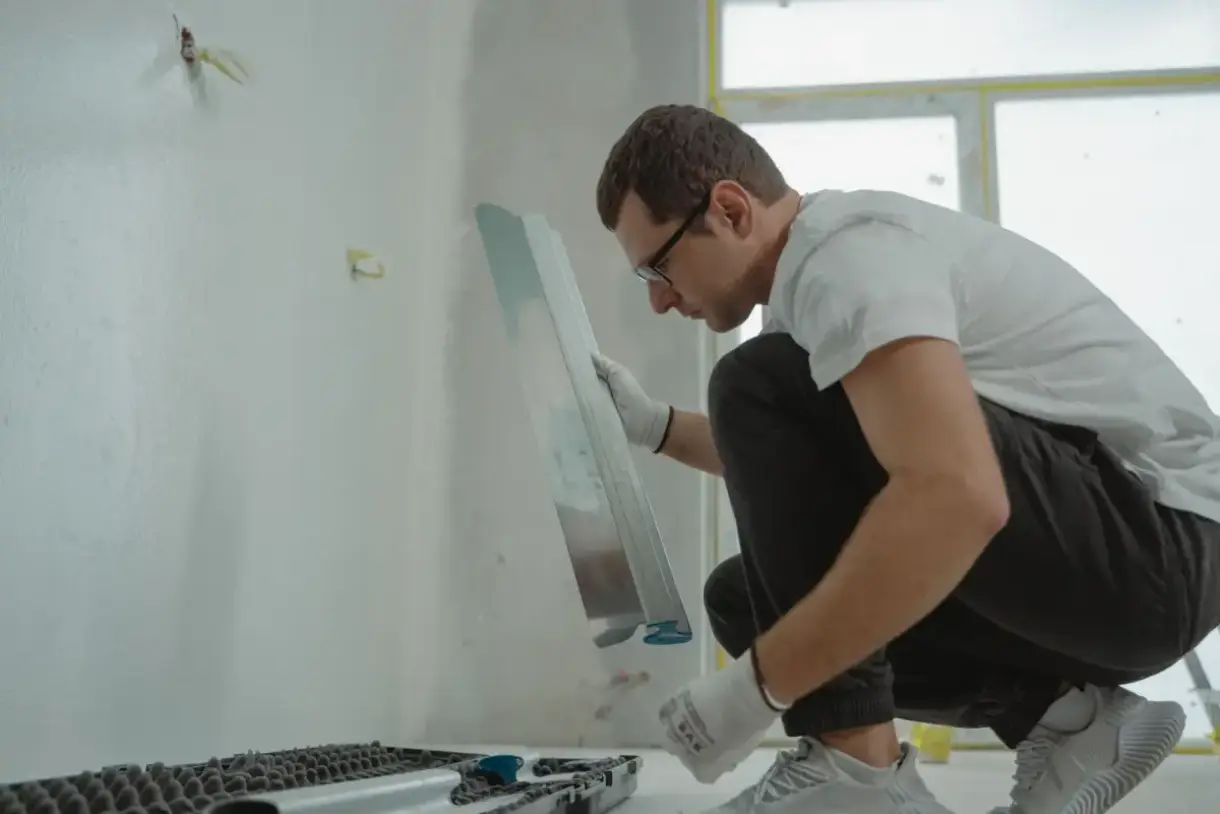
Basement Drywall Installation in Green Bay, WI
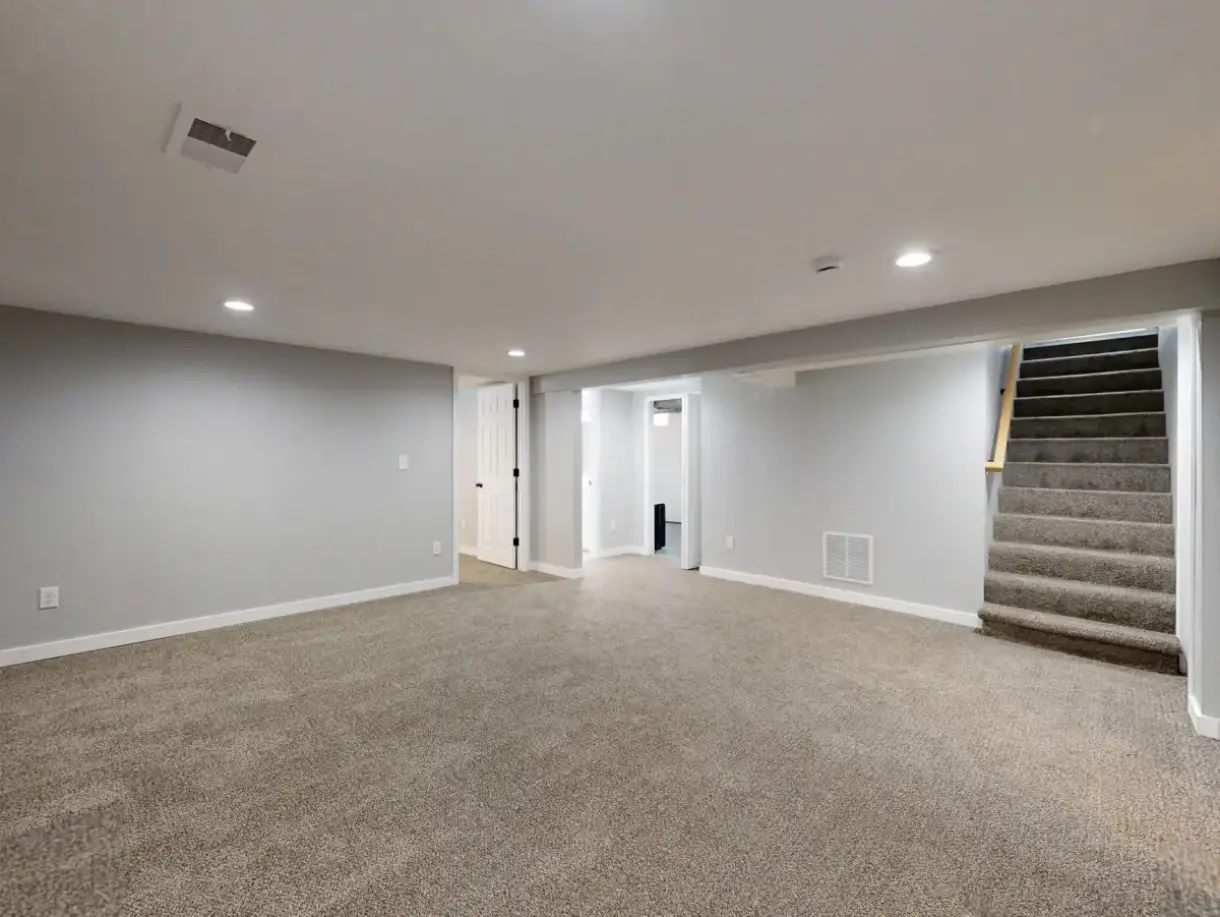
Basement Wall Drywall Installation
The below-grade wall is the assembly that matters most. Rigid foam against the foundation, sealed at its seams, keeps the concrete or block face above the dew point of the room's air so condensation has nowhere to form. Framing stands in front of that foam rather than tight against the wall. Cavity insulation is unfaced, and no polyethylene goes on the warm side — the single detail responsible for a great many finished basements that developed problems years after they looked perfect. Then moisture-resistant board, which is a sensible default rather than an extra.
Basement Ceiling Drywall Installation
The basement ceiling decision is really an access decision. Drywall gives a finished, quiet, continuous surface and permanently encloses whatever runs between the joists. Suspended grid looks less finished and gives that access back. Where drywall is chosen, planned access panels at shutoffs, cleanouts and junctions are the sensible compromise. Sound is the other factor: a drywall ceiling transmits footfall from above unless insulation goes in the joist bays, which is worth doing while the bays are open rather than wishing for later.
Drywall for Finished Basements
Turning a basement into living space, where the drywall is the visible part of a system that includes drainage, insulation and air sealing. The sequence matters — moisture control, rim joist work and framing all come before board, because everything drywall does is downstream of them. There is also a code layer that surprises people: a below-grade bedroom requires an egress window meeting size and sill-height requirements, and drywall enclosing a furnace or water heater room may need to satisfy separation requirements. Both are worth confirming with local inspection before framing.
Basement Remodeling Drywall
Reworking a basement that was finished before, which usually reveals how it was originally built. The frequent finds are framing fastened tight to the foundation, faced batts against the concrete, a poly sheet on the interior side, standard board, and a rim joist that was never touched. That combination was standard practice for decades and is now understood to trap moisture and leak heat. Opening it up is the moment to correct it rather than reproduce it, and where there is staining or a musty smell, that gets traced and resolved before the new wall goes up.
Basement Drywall Hanging & Finishing
The drywall work itself, with below-grade specifics. Board is held up off the slab — half an inch is typical — so a water event on the floor does not wick straight into the panel, and the gap disappears behind base trim. Finish level follows the same rules as anywhere: Level 4 through most of the space, Level 5 where a light washes down a long wall, Level 3 in utility or storage areas. Below-grade spaces also run cooler and more humid than the rest of the house, so compound drying takes longer and a dehumidifier during finishing is a genuinely useful tool.
Signs You Need Basement Drywall
- An unfinished basement being converted to living space
- A rim joist that is uninsulated and open to the basement air
- A previously finished basement showing staining, musty smell or soft board
- Framing fastened tight to the foundation with faced insulation behind it
- A poly vapor barrier on the interior face of a below-grade wall
- A basement that takes water during spring melt
How Basement Drywall Works
- 1
Assess Moisture Before Anything Else
No below-grade drywall decision is worth making until the moisture picture is clear: staining on the foundation, efflorescence, whether the sump works, where the floor drain goes, and how grade and downspouts handle water around the house. In this area the specific pattern to ask about is spring melt, when a heavy snowpack releases into ground that is still frozen several feet down and cannot absorb it — which puts water against foundations that stay dry the rest of the year. If water gets in, that gets solved first, because finishing over an unresolved path builds a sealed cavity around it.
- 2
Do the Rim Joist Before Anything Covers It
The rim joist is the highest-value work in a basement project and the easiest to skip, because once framing goes up it is out of reach and out of mind. Insulating and air sealing that band — where the framing sits on the foundation at the top of the wall — addresses what is typically the largest heat loss and air leakage path in the house, and it removes a genuine condensation risk where warm interior air meets a cold surface. It costs relatively little at this stage and is disproportionately expensive to retrofit afterward.
- 3
Build the Wall Assembly From the Foundation Outward
Rigid foam goes directly against the foundation with seams sealed and continuity maintained up to the rim joist work already done. Framing is set in front of the foam, held off the concrete, with the bottom plate protected from the slab. Cavity insulation, if used, is unfaced. Nothing impermeable goes on the interior face — no poly, no vinyl-faced batts, no foil. The principle is straightforward: the assembly has to be able to dry inward, because it cannot dry outward into soil that is damp most of the year and frozen for part of it.
- 4
Board, Finish and Manage the Drying
Moisture-resistant board goes on the walls and on the ceiling where humidity collects, held roughly half an inch off the slab. Access is planned at shutoffs, cleanouts and the sump before board covers them. Finishing runs with the level chosen room by room, and drying gets managed actively — a below-grade space is cooler and more humid than the rest of the house, so compound coats take longer and running a dehumidifier through the finishing phase is worth doing. Then priming, which matters more here than upstairs because this space sees the widest humidity swing in the building.
What Does Basement Drywall Cost in Green Bay, WI?
- Area of wall and ceiling being finished
- Whether framing, insulation and rim joist work are in scope or already complete
- Rigid foam thickness specified against the foundation
- Moisture-resistant board versus standard, and where each is used
- Whether the ceiling is drywall or an access-friendly alternative
- Access panels and mechanical enclosures required
- Removal and disposal of a previously finished basement that was built wrong
- Finish level, and whether a dehumidifier is needed to hold the schedule
| Service | Cost Per Sq. Ft. | Typical Job |
|---|---|---|
| New Drywall Installation | $1.50 – $3.00 per sq. ft. | $1,000 – $3,254 per project |
| Small Patch or Hole | $75 – $350 per patch | $300 – $500 for a contractor visit |
| Larger Wall Repair | $500 – $800+ per patch | Scales with how much board comes out |
| Ceiling Repair | $297 – $472 per hole | $220 – $1,300 for the full ceiling |
| Water-Damaged Drywall | $500 – $2,500+ | Depends how far the moisture travelled |
| Texture Matching | $150 – $450 per patch | Runs 30 – 40% above a smooth finish |
Based on 2026 national cost-guide data from Angi, HomeGuide, and Homewyse. Green Bay and Brown County rates land above or below these ranges depending on ceiling height, access, and texture type. Ice-dam ceiling damage is the row that most often exceeds the guide, because wet insulation above the board has to come out and dry before anything closes back up. You get a firm number after someone sees the job.
A basement drywall quote is only comparable to another one if both describe the same assembly behind the board. A price covering framing, board and finishing without foam against the foundation and without rim joist work is cheaper for a real reason, and the saving is borrowed against both a moisture problem and a heating bill. When comparing bids, the questions worth asking are what goes against the foundation, whether the framing touches it, whether the rim joist is included, and whether there is poly on the interior. The answers tell you more than the number does.
What to Look for in a Green Bay Basement Drywall Contractor
They Bring Up the Rim Joist
It is the largest heat loss path in most houses here and it disappears behind framing. A contractor who raises it unprompted is thinking about the building rather than the board.
They Ask About Spring Melt
Water that only appears when a snowpack releases into frozen ground is easy to forget in July. Asking about it is asking the right seasonal question.
They Refuse to Put Poly on the Warm Side
Below grade, moisture moves inward. An interior vapor barrier traps it in the assembly, and it was standard practice long enough that plenty of contractors still do it.
They Plan Access Before Boarding
Shutoffs, cleanouts and the sump get panels installed deliberately. The alternative is a hole cut through finished drywall on a bad night in February.
Residential & Commercial Basement Drywall
Residential
Basement drywall is residential work by definition, and here it is shaped by the heating season. The rim joist and the wall assembly behind the board do more for comfort and running cost than anything visible, which makes the order of operations more important than the finish.
Commercial
Below-grade commercial space follows the same physics with added requirements — rated assemblies, occupancy separations and specified finish levels. That work is covered on the commercial drywall installation page.
When Basement Drywall Isn’t the Right Call
- Basements with an unresolved water path. Finishing over active seepage builds a sealed cavity around the problem.
- Assemblies where the budget does not allow foam against the foundation. The saving is borrowed from a repair a few winters out.
- Projects where the rim joist is to be covered without being insulated and sealed. That is the most valuable thing in the room and it disappears once framing goes up.
- Below-grade bedrooms without a compliant egress window. That is a code requirement and it belongs in the plan before framing.
- Addresses outside the Green Bay metro area.
Frequently Asked Questions
- What is the rim joist and why does it matter so much here?
- It is the band of framing that sits on top of the foundation wall, at the ceiling line of the basement, running around the perimeter of the house. In most homes it is a thin piece of lumber with nothing behind it but outdoor air, which makes it typically the single largest heat loss and air leakage path in the building — and in a climate with our heating season that is a substantial ongoing cost. It is also a condensation risk, because warm interior air reaches a cold surface there. Insulating and sealing it during a basement project is inexpensive; retrofitting it afterward is not.
- Should I use moisture-resistant drywall in a basement?
- Yes, as a default rather than an upgrade. A basement is the coolest space in the house and sees the widest humidity swing, and moisture-resistant board handles that far better than standard board for a modest cost difference. What it is not is waterproof — it will not survive standing water or an ongoing leak, and it does not belong behind tile in a shower, where cement board or a purpose-made backer is required instead.
- Do I need a vapor barrier behind basement drywall?
- Not on the interior side, and this is the detail most often gotten wrong. Below grade, moisture moves inward from damp soil year round, so a polyethylene sheet on the warm side traps that moisture inside the wall assembly with nowhere to dry. The approach that works is rigid foam directly against the foundation — which acts as the vapor control layer and keeps the concrete face warm enough that condensation cannot form — with unfaced cavity insulation and no interior barrier at all.
- My basement only gets water in spring. Can I still finish it?
- Not until that is resolved. Spring seepage here has a specific mechanism: a heavy snowpack melts into ground that is still frozen several feet down, so the water cannot soak away and instead runs along the surface and against foundation walls. It is seasonal, predictable, and it will keep happening. Finishing over it builds a sealed cavity around an annual water event. The fixes are usually outside — grading, downspout extensions, sometimes drainage work — and they belong before any framing goes up.
- Should the basement ceiling be drywall or a suspended grid?
- It is a trade-off between appearance and access. Drywall looks like the rest of the house, is quieter, and permanently encloses whatever runs between the joists. A suspended grid looks less finished and gives that access back, which matters if there are shutoffs, cleanouts or junctions up there. The middle path is drywall with access panels planned at the specific points that might need attention. Whichever you choose, insulating the joist bays while they are open is worth doing for the sound alone.
- Does a basement bedroom need anything special?
- Yes — an egress window meeting minimum opening size and sill height requirements, so the room can be exited in an emergency without using the stairs. It is a code requirement rather than a recommendation, and it needs planning before framing, because retrofitting one into a foundation wall means excavation and a window well. With a frost line running past four feet here, that excavation is a bigger job than it would be further south, which is another reason to settle it at the planning stage.
Learn More
- Building Science Corporation — technical research on below-grade wall assemblies, rim joists and vapor control
- Focus on Energy — Wisconsin energy efficiency program covering rim joist and basement insulation
- Wisconsin DSPS Uniform Dwelling Code — state code covering egress, separation and below-grade habitable space
Need Basement Drywall in Green Bay, WI?
Tell us what’s going on and get an on-site estimate — no charge for the visit, and no obligation to book the work.
Get My Free Estimate